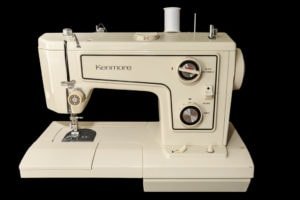
In this post I’m going to teach you how to fix a sewing machine (you can read more about my machine here) .
I was getting ready to start another project and discovered my Kenmore 1560 sewing machine would operate mechanically, but the light didn’t work.
Have you ever tried sewing with no light? It’s pretty hard. I suppose a could have bought a lamp to light my work, but what fun is there in that?!
Fortunately, I have a background in building maintenance and am pretty handy. These mechanical skills enabled me to troubleshoot the problem and have the basic knowledge of how to make the repair myself.
(A little while after this repair I ended up purchasing a new machine. You can read my article about that here.)
Let’s back this story up a bit
Unfortunately it was into the summer which is also my busiest time of year. As the busyness consumed my time, repairing the kenmore 1560 got put on the back burner…
And then under the desk in its case.
Pretty soon the summer was over and fall was all but upon us. Even the holidays came and went.
But , then a co-worker mentioned something about sewing and I remembered my poor machine. I knew I had to get it out and bring this poor sewing machine back to life.
That evening, I went home and dug it out. I opened it up on a bench that had some room to work. It was a small spot, but just enough room. There was a window nearby too, so I had good, natural light.
Eliminate potential problems until you find the culprit.
I looked over the Kenmore 1560 and everything seemed in order. I checked the light bulb and it looked like the filament was in tact. Nothing appeared wrong. Other than the light not working, of course.
Because I couldn’t find anything else wrong, I figured it must be the bulb, and I just couldn’t see the break in the filament. I pulled it out and went to the store. I live in a small town and we don’t have much for shopping.
My sewing machine takes a fancy light bulb with nibs on the sides and twists into the socket.
Not like the slightly less fancy screw in base.
The nearest store that would have a specific item like a sewing machine light bulb was about an hours drive away.
It was a few weeks before I had an opportunity to go shopping a few towns over. The first store I went to was one of those big craft stores.
Of course they didn’t have the bulb for my machine. There is a smaller family owned sewing shop and I they had the bulb I needed. When I got home and put the new bulb in and nothing. Still no light.
Electrical Connection?
I checked the power cord again. There was power because the machine sewed, it just didn’t have light. I wiggled it again and the light flickered.
The light wouldn’t stay on but if I wiggled the power cord where it plugged into the machine just right, it would blink. A tiny little blink. More like a glimmer… of hope.
I finally had a place to start troubleshooting.
How To Fix A Sewing Machine: The Kenmore 1560
I removed the top cover of the machine. With a flashlight, I looked deep into the mechanics of the machine.
I couldn’t really see anything from the top and since I could wiggle the plug and get it to blink occasionally, I figured I’d better look at the bottom.
After removing the bottom cover I could see the plug from the inside of the machine. (Of course, I unplugged the machine from the wall while I was disassembling it.)
I traced the wires from the top to the bottom looking for shorts or bare wire and found nothing.
I wiggled the wires inside the machine (very carefully, with it plugged in) to see if I could replicate the flickering. No go. The only place I couldn’t reach was the inside of the plug housing.
The short was clearly inside the housing.

I was pleasantly surprised to see screws on the plug housing. This meant that I’d be able to get inside for further troubleshooting. After removing the cover to the plug housing, I found what I was looking for.
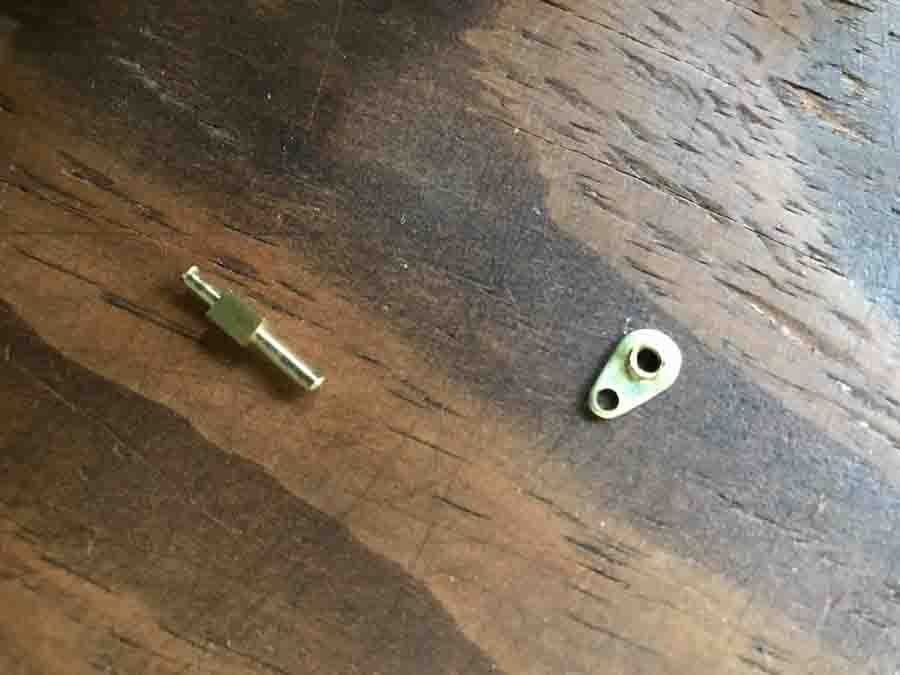
Inside the plug housing, there was a tab that connected the internal wiring for the machine to the prong that the power cord plugged into.
The tab that the internal wiring was pressed onto had come loose and was no longer making good contact with the prong.
I wanted to repair the machine as cheaply as possible without sacrificing quality. I didn’t want this to break again, so whatever the repair, it had to be strong.

It needed to be soldered, but I knew I only had plumbing solder. Plumbing solder has a much higher melting point than electrical solder. Because of this it would prove ineffective for my needs. (Trust me. My electrical soldering iron wouldn’t even melt the plumbing solder.)
That meant another trip to the store. Fortunately it didn’t take me several weeks to get to the store this time.
The solder was way overpriced
The first store, which I will leave nameless, had electrical solder for upwards of $13 for a small coil.
This was way more than I was willing to spend. Not because $13 was too much money to repair the machine, but because the solder was not worth $13 and it was a rip off.
I knew I could buy it cheaper at Walmart. So, even though I prefer to shop at other merchants, I ended up at Walmart. And guess what? They had the solder for $3. I bought it and went home a happy camper.
How To Fix A Sewing Machine: Soldering An Electrical Connection
While waiting for the soldering iron to reach operating temperature, I got the pieces in place and ready to solder.
Now this was a challenge since they had to come together inside of the plug housing, one from either side, and meet in the middle.

In addition, the location of the joint was down in a recess and that limited the angle of access and made it a challenge to see and solder at the same time.
Before picking up solder with my now hot iron, I heated up the joint to be soldered for a few minutes, so that when the time came to add the solder it would flow across the preheated parts and create a solid bond.
After pre-heating the joint I applied a little flux to clean the material and enable the solder to adhere to clean surfaces.
The soldering process went fairly quickly and turned out to be pretty solid.
After it cooled I plugged the power cord in to test it out. Everything worked! The light was on and the machine operated flawlessly. There were no more issues.
After a little more testing and I was sure the repair was complete, I re-attached the internal wiring to the plug housing, replaced the the cover on the plug housing and re-mounted the plug housing to the inside of the machine.
Then, I re-attached the bottom cover and the top cover. When I was finished re-assembling the machine I plugged it in for another test.
Overall this was a pretty fast repair. I think it took an hour or two including my time to run to the stores and back home. All in all it was a simple repair that almost anyone could do. I hope I was able to teach you how to fix a sewing machine in this post.
This project took a long time to get to because of the busyness of life, a new job, and a new child. I had to wait until it all calmed down a bit before I could get back to my hobby.
I hope you enjoyed reading about my experience. You can read about the project I completed after this repair in my next post.
Have you ever had a sewing machine break? Comment below and tell your story. Please share on social media if you like this blog!

Hi Daniel! Today I purchased a used Kenmore 1560 with the plan of using it for free motion quilting. It is in like new condition. The one thing that has me stumped is that when I move the feed dog lever to drop the feed dogs nothing seems to change except the position of the lever. I opened the bottom of the machine and the black lever slides back and forth just fine and pushes out a metal part on the left of the cylinder. But I don’t notice the feed dogs going down and cannot figure out what this movement is supposed to accomplish. This is my first Kenmore sewing machine and I am not sure what to expect. I am hoping you might be able to fill me in as to what be going on here. Thank you 🙂
Pat, Thanks for the comment and I hope you are able to get to the bottom of your issue soon! Are you able to get any pictures of the opened underside of you machine? Also, have you tried sewing with the feed dogs disengaged to see if they are in fact operating? It sounds like there is a break in the linkage somewhere but it’s hard to diagnose with certainty without seeing it in person.